I’m writing this tutorial in hopes that it will be a great starting point for anyone looking to learn Docker. This is essentially an amalgamation of whatever I gathered from various sources while trying to learn Docker.
What is Docker?
Docker is a software platform that allows you to build, distribute and deploy applications in environments called containers. These containers essentially share only what’s required from the operating system (the OS kernel for example) but otherwise run in isolation from one another.
What this means is that a specific docker container will run in the same way when used across multiple machines.
What exactly is a container?
A container is essentially another process on your machine. This process is isolated from all the other processes on the host machine. The isolation is achieved by using features that have been in Linux for a long time (such as kernel namespaces and cgroups).
I will come clean here and mention that the above explanation for the container was paraphrased right from Docker’s 101 tutorial. It’s a great place to start from and I would recommend you to check it out and do it yourself before coming back here.. It’ll take you through the basics of Docker and explain each step in the process.
What exactly is a container image?
Whenever a container is run it makes use of an isolated file system. This file system is provided by the container image. Since the image contains the container file system, it also contains everything needed to run an application, all its dependencies scripts configuration etc. The image also contains other configuration for the container, like environment variables and commands to run. You’ll get a better idea of it as we start using Docker below.
How to get started?
Like I mentioned above, Docker’s 101 tutorial is a great place to get started, but assuming you don’t want to take a look at it, I’ll try my best below.
Firstly, get Docker installed on your system. Once that’s done, try the command below:
docker run hello-world
Output:
milind@Milinds-MacBook-Air ~ % docker run hello-world
Unable to find image 'hello-world:latest' locally
latest: Pulling from library/hello-world
0e03bdcc26d7: Pull complete
Digest: sha256:8c5aeeb6a5f3ba4883347d3747a7249f491766ca1caa47e5da5dfcf6b9b717c0
Status: Downloaded newer image for hello-world:latest

Hello from Docker!
This message shows that your installation appears to be working correctly.

To generate this message, Docker took the following steps:
 1. The Docker client contacted the Docker daemon.
 2. The Docker daemon pulled the "hello-world" image from the Docker Hub.
    (amd64)
 3. The Docker daemon created a new container from that image which runs the
    executable that produces the output you are currently reading.
 4. The Docker daemon streamed that output to the Docker client, which sent it
    to your terminal.

To try something more ambitious, you can run an Ubuntu container with:
 $ docker run -it ubuntu bash

Share images, automate workflows, and more with a free Docker ID:
 https://hub.docker.com/

For more examples and ideas, visit:
 https://docs.docker.com/get-started/
Congrats you just ran your first docker command! The command basically looks for an image (to run) called hello-world locally first, but when it cannot find it locally, it looks for it on Docker Hub instead. Docker Hub is a repository service where images are available which can be pulled and used. Users can also upload their own images on it which other users can then make use of.
In Docker’s 101 tutorial, they take you through making a container image for a node.js application, wherein important concepts like volumes and networking are also covered. Here for another example, I will take you through creating a container image for a React app made using create-react-app.
I’ll be using this tiny react app I had made a while back for this tutorial. You can clone the same to follow along, or use an app of your own.
Creating the Dockerfile
To create your own container image you need a file namedDockerfile. For now, just know that a Dockerfile is simply a file that consists of instructions that are used to create a container image.
Make a file named Dockerfile in the app’s root with the following content:
# pull official base image
FROM node:13.12.0-alpine

# set working directory
WORKDIR /app

# add `/app/node_modules/.bin` to $PATH
ENV PATH /app/node_modules/.bin:$PATH

# install app dependencies
COPY package.json ./
COPY yarn.lock ./
RUN yarn install

# add app
COPY . ./

# start app
CMD ["yarn", "start"]
FROM- TheFROMinstruction is used to choose a base image to use and then build upon. Since we’re creating a container image for a React app, we’ll use a Node base image.WORKDIR- TheWORKDIRinstruction sets the working directory for the container image, andCOPYandADDinstructions that follow it in the Dockerfile. If theWORKDIRdoesn’t exist, it will be created even if it’s not used in any subsequent Dockerfile instruction.ENV- This is used to set environment variables. Here,/app/node_modulesis added to $PATHCOPY-COPYis used to copy files/directories from the local system to the container image’s filesystem.RUN-RUNis used to execute commands at build time. These commands won’t run when you make a container out of your image (i.e. use docker run)CMD- This is used to execute commands when you start a container with said image. These commands do not run when the image is built.
Let us also create a .dockerignore file so that Docker will ignore the folders/files mentioned in .dockerignore during the build process. Create a new file called .dockerignore in the project’s root with the following content:
	node_modules
	build
	.dockerignore
	Dockerfile
	Dockerfile.prod

We're choosing to ignore node_modules because we run yarn install inside the container image itself.
Let’s build the container image using docker build -t <app_name>:<label_name> .
	dsds milind@Milinds-MacBook-Air movie-app % docker build -t movie-app:dev .
	[+] Building 3.2s (11/11) FINISHED
	 => [internal] load build definition from Dockerfile                                                                                                               0.1s
	 => => transferring dockerfile: 37B                                                                                                                                0.0s
	 => [internal] load .dockerignore                                                                                                                                  0.1s
	 => => transferring context: 34B                                                                                                                                   0.0s
	 => [internal] load metadata for docker.io/library/node:13.12.0-alpine                                                                                             3.0s
	 => [1/6] FROM docker.io/library/node:13.12.0-alpine@sha256:cc85e728fab3827ada20a181ba280cae1f8b625f256e2c86b9094d9bfe834766                                       0.0s
	 => [internal] load build context                                                                                                                                  0.1s
	 => => transferring context: 4.25kB                                                                                                                                0.0s
	 => CACHED [2/6] WORKDIR /app                                                                                                                                      0.0s
	 => CACHED [3/6] COPY package.json ./                                                                                                                              0.0s
	 => CACHED [4/6] COPY yarn.lock ./                                                                                                                                 0.0s
	 => CACHED [5/6] RUN yarn install                                                                                                                                  0.0s
	 => CACHED [6/6] COPY . ./                                                                                                                                         0.0s
	 => exporting to image                                                                                                                                             0.0s
	 => => exporting layers                                                                                                                                            0.0s
	 => => writing image sha256:db1fd7d04cb5c8dea53f86f134f56c12cbced9bfdf9c04b289e6b732dd1334fe                                                                       0.0s
	 => => naming to docker.io/library/movie-app:dev
-t movie-app:dev--tis used to tag an image. The text following the colon works as a label (for eg. labelling different images as dev and prod).- is the location of the Dockerfile..indicates that it should look for it in the current directory.
Now that the image has been built, let us run it. Use the following:
	docker run \
    -it \
    --rm \
    -v ${PWD}:/app \
    -v /app/node_modules \
    -p 3001:3000 \
    -e CHOKIDAR_USEPOLLING=true \
    movie-app:dev
-it- starts the container in interactive mode. This might not be required for you however. My app used version 3.4.1 ofreact-scriptswhich would not work without interactive mode. This has since been fixed.--rm- removes the containers and volumes after the container exits.-v ${PWD}:/app--vis used to create volumes. In this case, this mounts the code of our directory into the/appof the container. This will be used later on to ensure that hot-reloading works. (${PWD}might not work on Windows)-v /app/node_modules- Since we want to use the container’snode_modules, we made a volume for it.-p 3001:3000- exposes port 3000 to other Docker containers on the same network (for inter-container communication) and port 3001 to the host.-
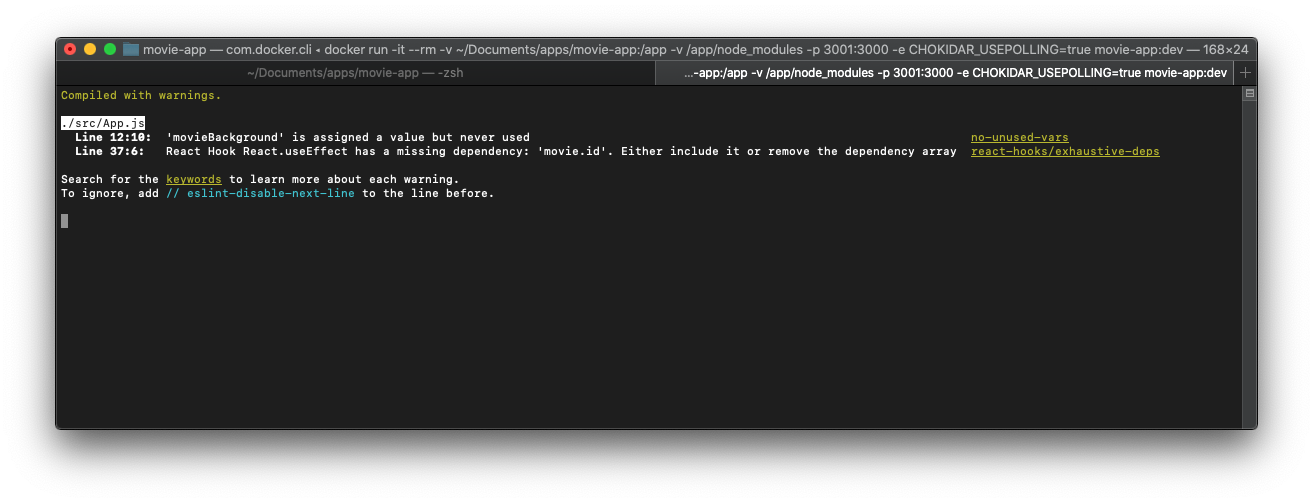
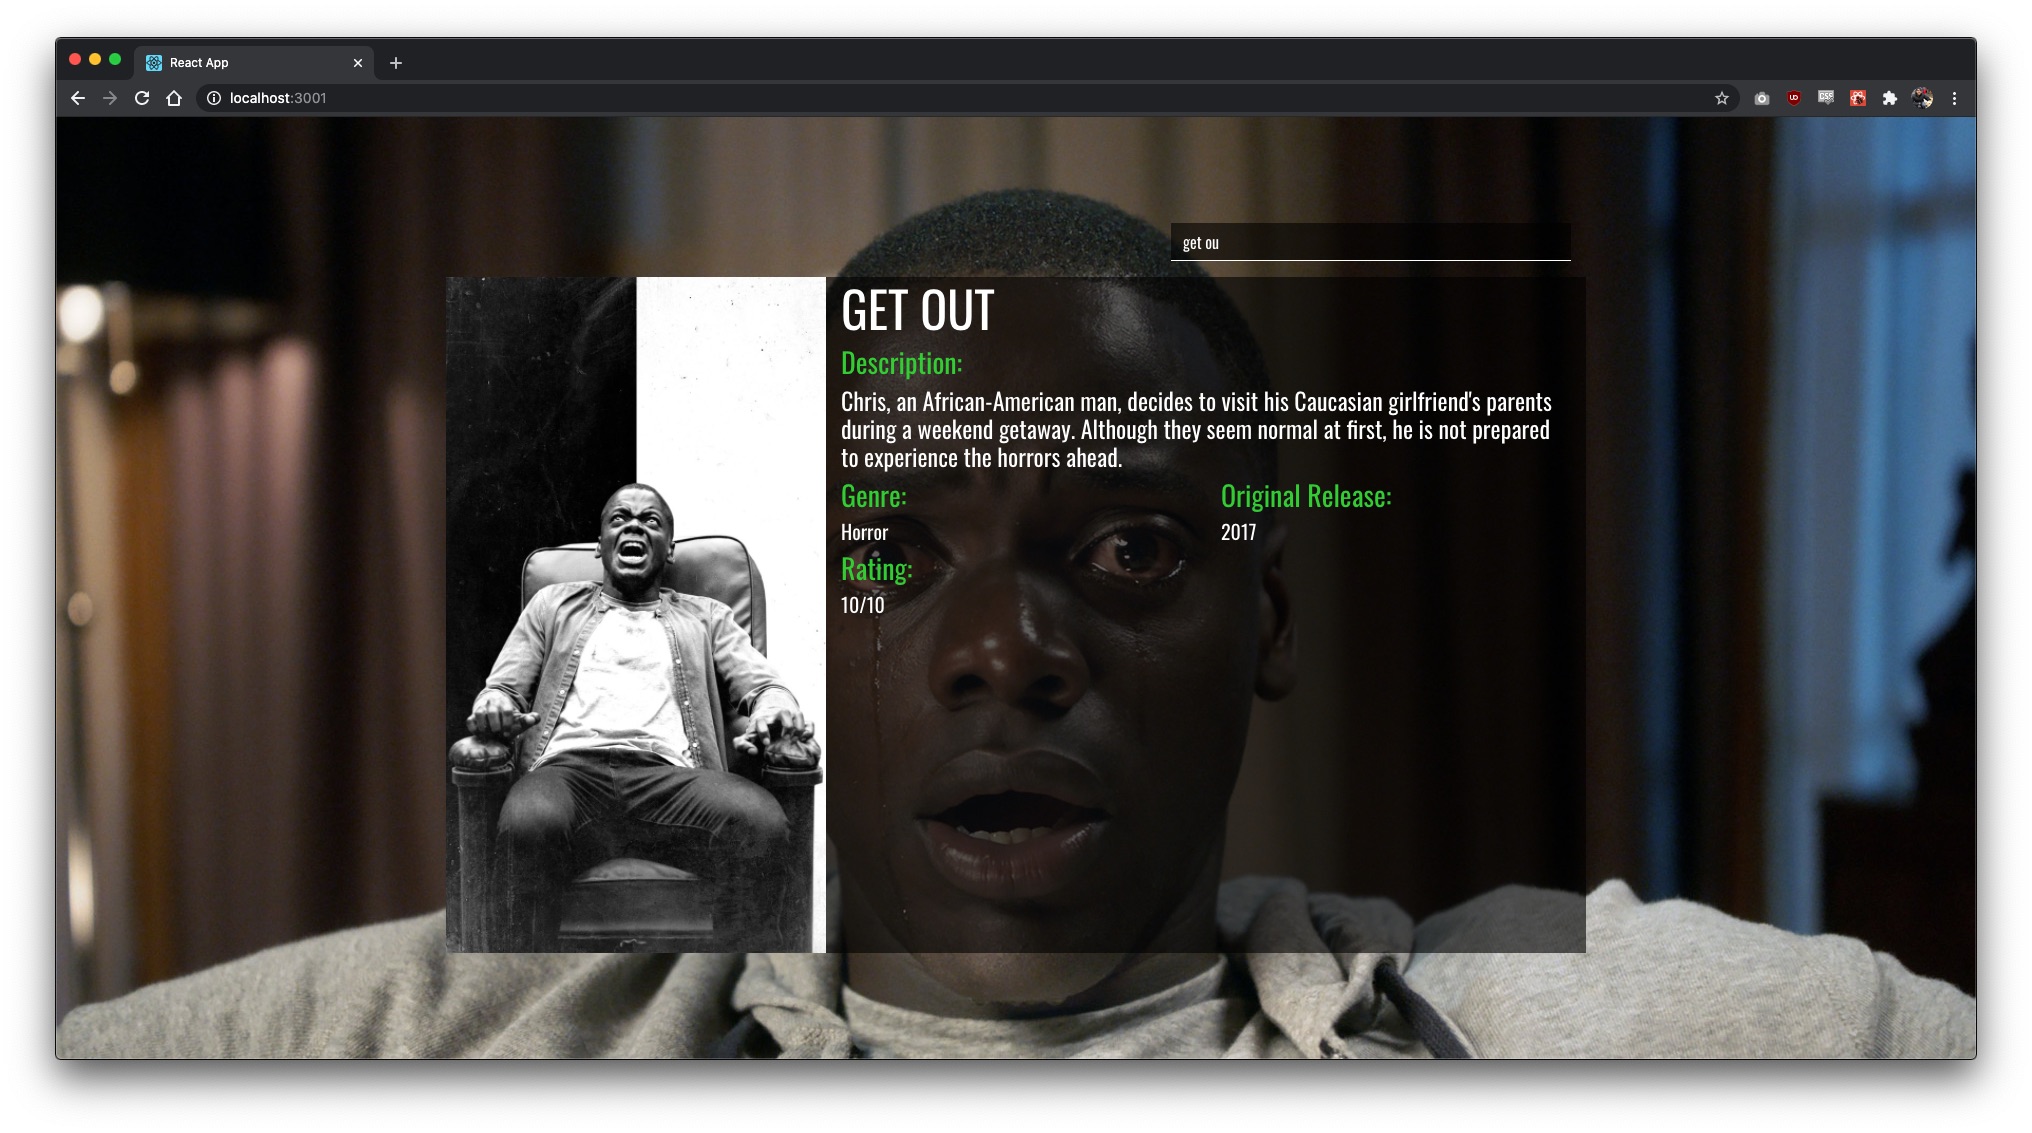
-e CHOKIDAR_USEPOLLING=trueenables a polling mechanism via chokidar so that hot-reloading works by creating an environment variable namedCHOKIDAR_USEPOLLINGand setting it to true.Your container should now have started and be accessible at
http://localhost:3001/! You should be able to make changes to the code and they should be reflected instantly as well.
If for some reason you did not want hot-reloading, you can remove -v ${PWD}:/app and -e CHOKIDAR_USEPOLLING=true from the docker run command.
And that’s about it! You have now learned the basics of how to create a container image for a project you might have (In this case, a React app).
Let’s quickly look at how the Dockerfile would change if we were to build an image for use in production!
# build environment
FROM node:13.12.0-alpine as build
WORKDIR /app
ENV PATH /app/node_modules/.bin:$PATH
COPY package.json ./
COPY yarn.lock ./
RUN yarn install --frozen-lockfile
COPY . ./
RUN yarn run build

# production environment
FROM nginx:stable-alpine
COPY --from=build /app/build /usr/share/nginx/html
EXPOSE 80
CMD ["nginx", "-g", "daemon off;"]
Multistage build is used here in order to create a temporary image to generate the production ready React files. These static files are then copied to the production image (the temporary image and its contents are discarded).
To build the prod container, run docker build -f Dockerfile.prod -t movie-app:prod ., and to start the container, docker run -it --rm -p 1337:80 movie-app:prod.
Sources: